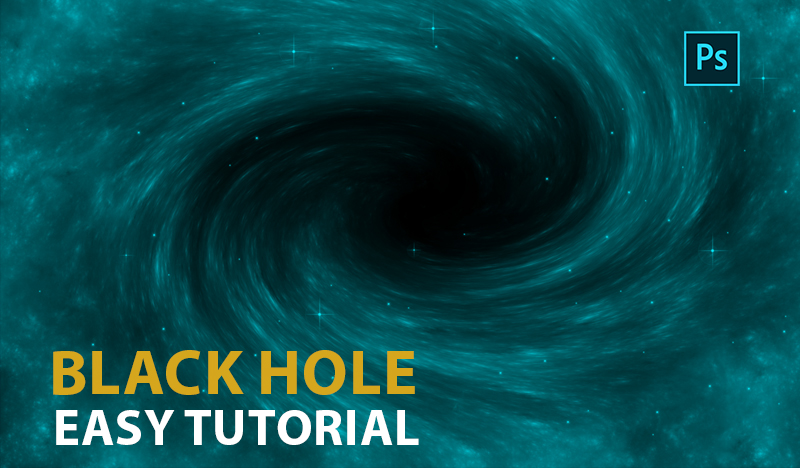
How to Create a Black Hole in Photoshop!
This tutorial will also introduce you to a new technique for Photoshop that I have developed to create realistic black hole in photoshop with brushes. This technique is simple and effective, and it can be used to create different types of black holes with different colors and shapes. You will be amazed by the results you can achieve with this technique and the brush set. So, if you are ready to learn something new and exciting, let’s begin this tutorial!
Tutorial Resources
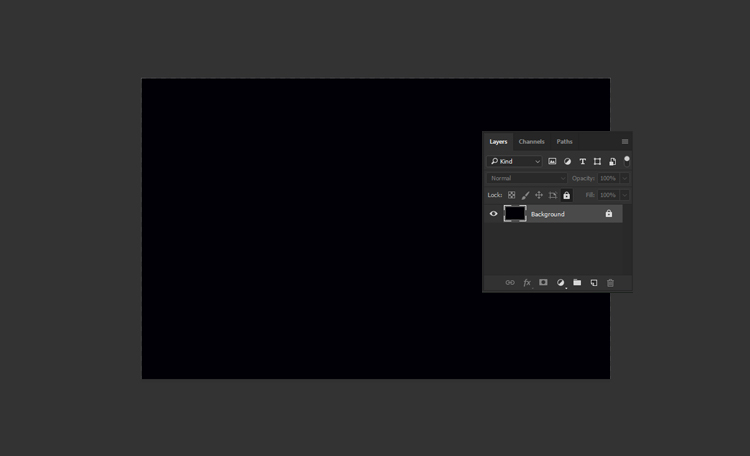
Step 1: Create a new file and a dark background color.
The first step is to create a new file in Photoshop with the dimensions of your choice.
I’m using a 2500 x 1605 PX file with a resolution of 300 dpi. You can use any size you want, but make sure it is large enough to fit your space scene.
Next, we need to fill the background with a dark color. You can use any dark color you like, but I recommend using a very dark blue or purple to create some contrast with the stars and planets later. To fill the background, select the Paint Bucket Tool (G) and click on the canvas.
You should have something like this:
Step 2: Import our brushes and select the nebula you want.
The next step is import brushes.
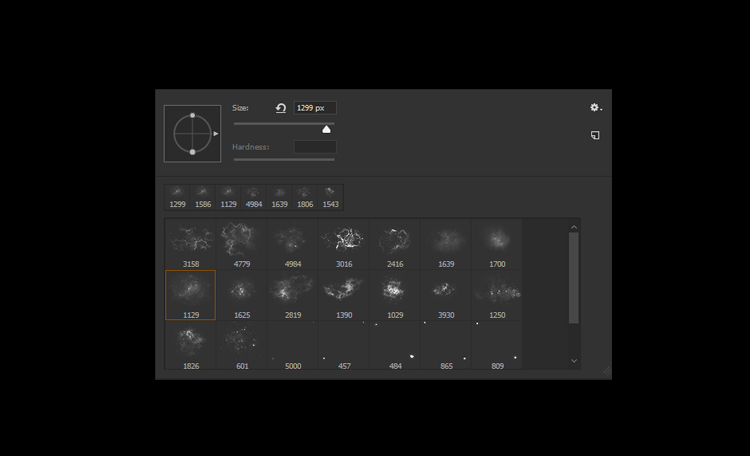
Now, we are going to use one of the brushes to create a nebula. A nebula is a cloud of dust and gas in space.
To create a nebula, select the Brush Tool (B) and choose one of the brushes from the set, which looks like this.
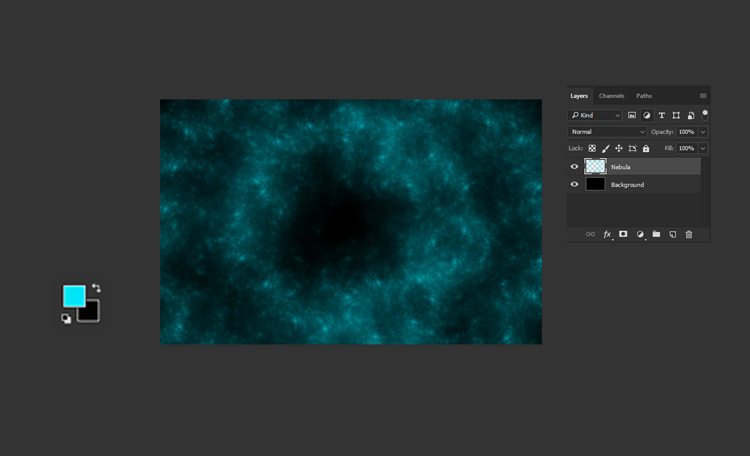
Step 3: Paint with nebula in a circular movement
The next step is to change the foreground color to #00e5f8 , which is a bright cyan color. You can use the Color Picker or type the hex code in the box.
Next, create a new layer (Ctrl+Shift+N) and name it Nebula. On this layer,
Paint with the nebula brush in a circular motion around the center of the canvas to create a more dynamic and realistic effect.
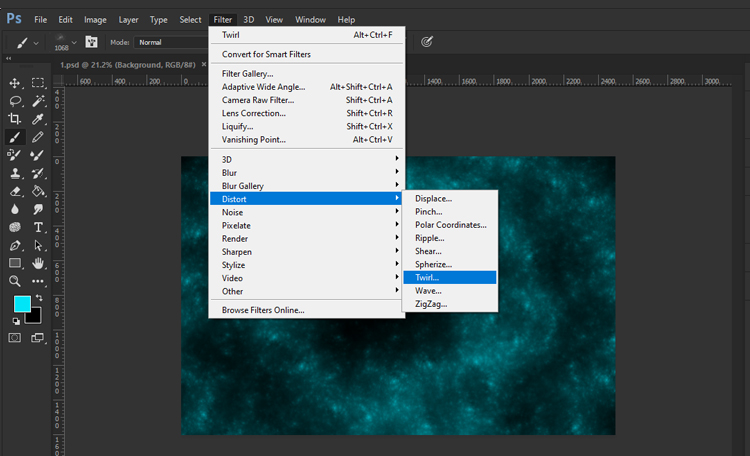
Step 4: Merge layers and apply twirl filter.
The next step is to merge the nebula layers and apply a twirl filter to create a spiral effect.
To do this, select both nebula layers in the Layers panel and press Ctrl+E to merge them. Then,
go to Filter > Distort > Twirl
and adjust the angle as you like.
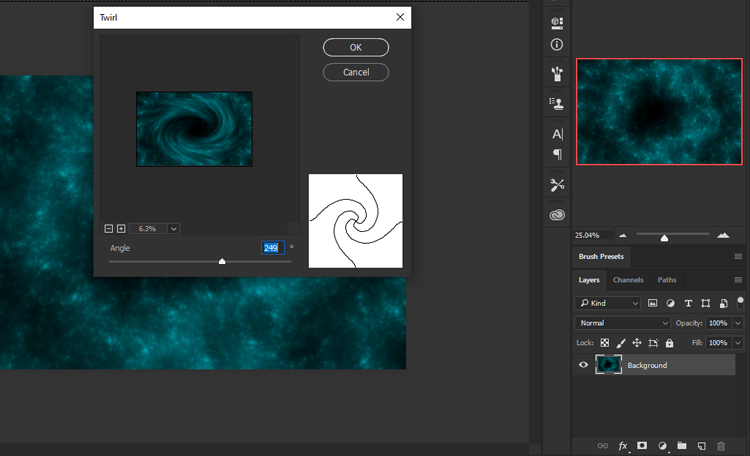
Step 5: Use angle to create a black hole.
The angle is the amount of rotation that the filter applies to the image. The higher the angle, the more twisted the image becomes. The lower the angle, the less twisted the image becomes. You can use any angle you want, but I recommend using a high angle to create a spiral effect.
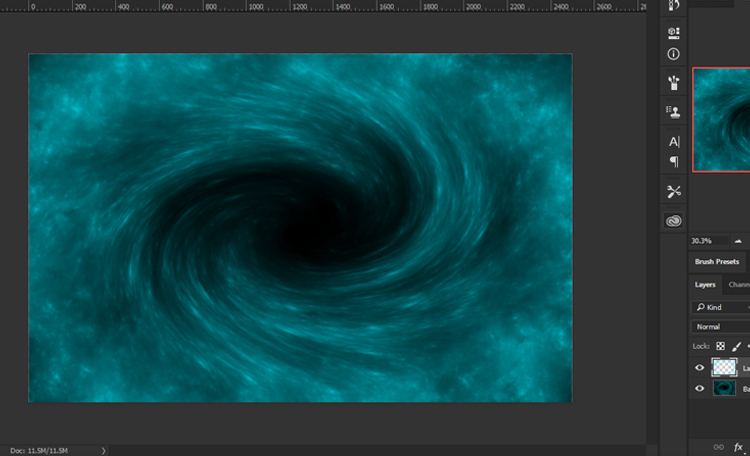
I’m using an angle of 249 degrees. You should have something like this.
Step 6: Create a new layer and paint some edges in the corner.
The next step is to create a new layer and use the same nebula brush to paint some edges in the corner of the canvas. This will add some depth and interest to your space scene. To do this, select the Brush Tool (B) and choose the same nebula brush as before.
Then, create a new layer. On this layer, click and drag the brush along the edges of the canvas. You can use any color you like, but I recommend using a lighter color than the background. You should have something like this:
Next, add some stars to your space scene using the dynamic stars brush in this pack. This brush will create different sizes and brightness of stars depending on the pressure and speed of your stroke.
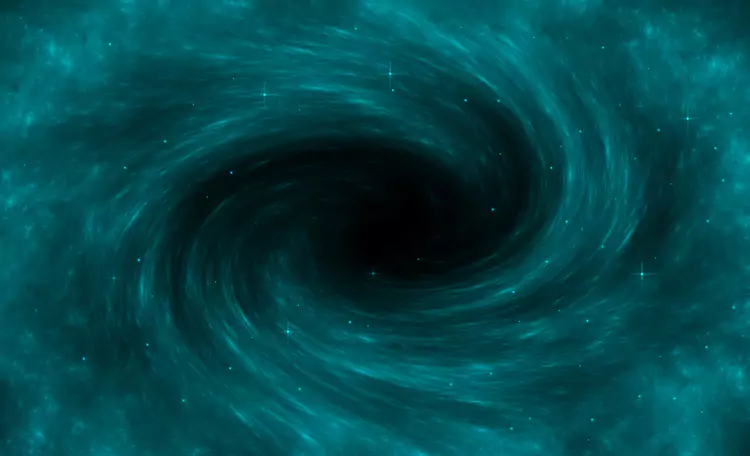
Congratulations!
You have successfully created a stunning black hole scene in Photoshop using a custom brush set for space. I hope you enjoyed this tutorial and learned something new. Thank you for following along!


